
Creating a static website with Jekyll can seem challenging, but with the right approach, it’s actually quite easy. If you’re someone who wants to have complete control over your website’s look and feel without getting tangled up in complex back-end systems, Jekyll is the perfect choice. It’s a powerful static site generator that turns your plain text files into a beautiful and functional website.
In this detailed step-by-step guide, we’ll explore every step to build a static website with Jekyll, making sure you understand not only how to get started but also why Jekyll might be the right fit for your needs. So, without any further ado, let’s dive into the world of Jekyll and discover how to create a stunning static website!
What Makes Jekyll Stand Out?
Before we jump into the steps to build your Jekyll website, let’s take a moment to understand why Jekyll is such a popular choice for creating static websites.
Simplicity and Flexibility
Jekyll is designed to make the web development process as straightforward as possible. It allows you to focus on your content without the hassle of dealing with databases or server-side scripts. Whether you’re a seasoned developer or a beginner, Jekyll provides a user-friendly experience.
If you’re someone interested in the best website reseller hosting, Jekyll can integrate seamlessly with your hosting solutions, providing a robust platform that scales with your requirements.
Speed and Security
With Jekyll, you’re working with static files, which means your website will load quickly and be less susceptible to security threats. No databases, and no complex server configurations—just pure HTML, CSS, and JavaScript.
Integration with GitHub Pages
One of the standout features of Jekyll is its seamless integration with GitHub Pages. This allows you to host your website for free, with automatic deployment every time you push changes to your repository.
Customization Options
Jekyll offers extensive customization possibilities through themes, plugins, and layouts. This means you can tailor your site to match your unique style and requirements without being constrained by pre-built templates.
Active Community and Resources
Jekyll boasts a robust community of developers and users who contribute to its growth. You’ll find plenty of resources, guides, and forums to assist you in every step of the way.
Understanding Static Websites
A static website consists of fixed HTML files, where each page is an independent file stored on the server. When a visitor requests a page, the server simply delivers the pre-rendered HTML file to the user’s browser. This architecture contrasts with dynamic websites, where pages are generated on-the-fly by server-side scripts.
Advantages of Static Websites
- Speed: Static websites load faster because they don’t require server-side processing.
- Security: With no database or server-side scripting, static websites are less vulnerable to security threats.
- Cost-Effectiveness: Static hosting solutions are often cheaper and more scalable.
- Simplicity: Static sites are easier to maintain and less prone to breaking with updates.
Jekyll leverages these advantages by offering a streamlined approach to creating static websites, perfect for portfolios, blogs, documentation sites, and more.
Steps to Build a Static Website with Jekyll
Step 1: Setting Up Your Development Environment
Before you start building your Jekyll site, you need to set up your development environment. So, the first step in building your static site with Jekyll is to install the necessary software. Jekyll requires Ruby, so ensure you have it installed on your machine. Here’s how you can do it:
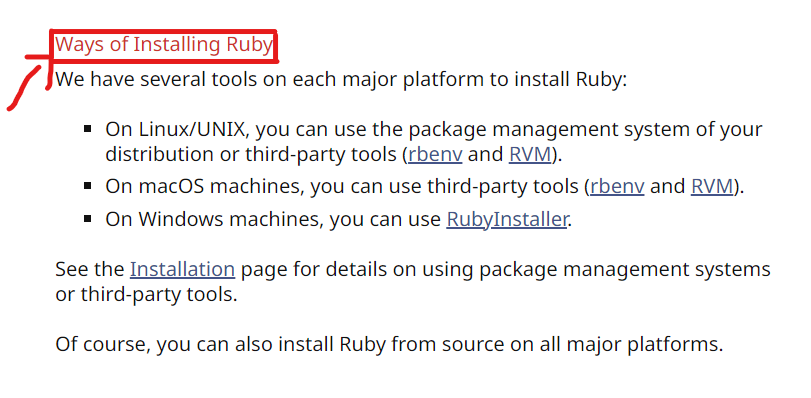
Install Ruby: Visit the official Ruby website and download the latest version suitable for your operating system.
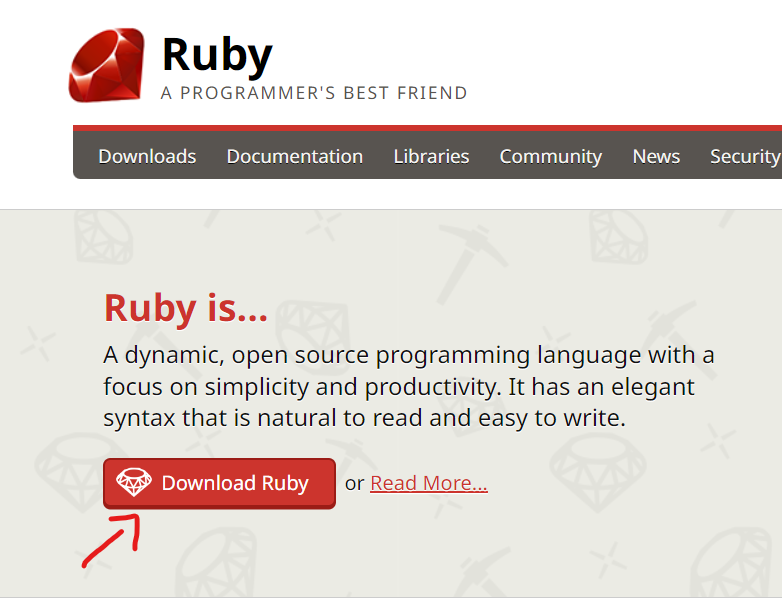
Follow the instructions to install Ruby on your machine.
Install Jekyll: Open your terminal or command prompt and type the following command to install Jekyll and Bundler:

This command will install Jekyll and Bundler, which are essential for managing your site’s dependencies.
For those who are planning to buy reseller web hosting and integrate it with Jekyll, ensuring that your hosting environment supports Ruby can be a crucial step.
Step 2: Creating Your First Jekyll Site
Now that you have Jekyll installed, it’s time to create your first Jekyll site. This step is exciting because you’ll see how easy it is to set up a basic site structure by running a simple command:

Replace “my-awesome-site” with your desired site name. This command creates a new directory with all the necessary files for a Jekyll site. It includes default templates, configurations, and a simple layout that you can customize later.
Step 3: Building and Serving Your Jekyll Site Locally
Before you start customizing your Jekyll site, it’s a good idea to build and serve it locally. This step allows you to see how your site looks and functions in real-time, making it easier to make adjustments.
Navigate to Your Site’s Directory
- Open your terminal and navigate to the root directory of your Jekyll site:

Serve Your Site Locally
- Run the following command to build and serve your Jekyll site on a local server:

- Jekyll will build your site and start a local server at http://localhost:4000. Open this URL in your browser, and you’ll be able to see your site in action. The best part is that Jekyll automatically regenerates your site whenever you make changes to the source files, providing a real-time preview.
Troubleshoot Common Issues
If you encounter any issues while serving your Jekyll site locally, here are some common problems and their solutions:
- Port Already in Use: If you receive an error message indicating that the port is in use, try running the server on a different port by using the following command:
- Missing Gems: If you run into issues with missing gems, make sure all required gems are installed by running bundle install. This command will install any dependencies listed in your Gemfile.
- Configuration Errors: Double-check your _config.yml file for any syntax errors or incorrect settings that might be causing the site build to fail.
Step 4: Customizing Your Jekyll Site
Customization is where Jekyll truly shines, allowing you to create a site that reflects your personality and brand. With a variety of options available, you can make your Jekyll site unique and tailored to your needs.
Configuring the _config.yml File
The _config.yml file is the heart of your Jekyll site’s configuration. It controls various settings that impact your entire site. Let’s explore some key configurations you can adjust:
Title and Description: Set your site’s title and description to appear in search engine results and browser tabs. Here’s an example:

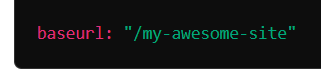
Base URL: If your site is hosted on a subdirectory, specify the base URL here:
Permalinks: Customize the URL structure of your posts and pages using Permalinks:

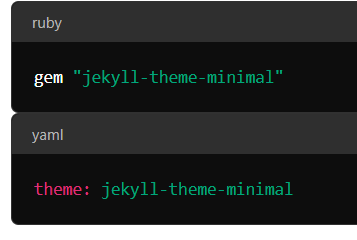
Theme: If you’re using a theme, specify it here to apply a cohesive design across your site:

These configurations will help you define the core attributes of your Jekyll site, ensuring it functions and looks exactly as you envision.
Choosing and Installing a Theme
Jekyll offers a wide range of themes that can dramatically transform your site’s appearance. Here’s how you can choose and install a theme to give your site a fresh look:
Browse Jekyll Themes: Visit Jekyll Themes to explore a variety of themes. Whether you prefer a minimalistic design or a feature-rich layout, there’s a theme to suit your style.
Install the Theme: Once you’ve selected a theme, you can install it by adding the theme to your Gemfile and updating your _config.yml file. Here’s an example:
Customize the Theme: Most Jekyll themes come with customization options, allowing you to tweak colors, fonts, and layouts. Check the theme’s documentation for specific customization instructions.
Creating Custom Layouts and Pages
With Jekyll, you have the flexibility to create custom layouts and pages that align with your site’s goals. Here’s how you can create a personalized experience for your visitors:
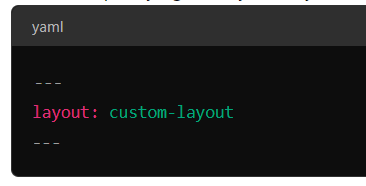
Creating Custom Layouts: Layouts define the structure of your pages, such as headers, footers, and sidebars. You can create custom layouts by adding HTML files to the _layouts directory and then specifying the layout in your Markdown files:
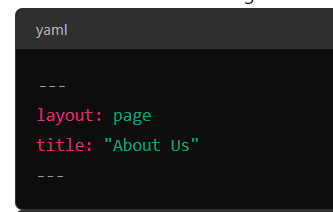
Designing Unique Pages: In addition to posts, you can create standalone pages like “About Us” or “Contact” by adding Markdown files to the root directory. Specify a layout for each page to maintain a consistent design:
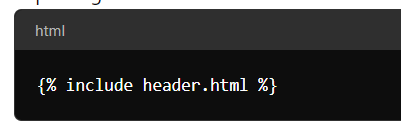
Utilizing Includes: Reusable code snippets, such as navigation menus and footers, can be stored in the _includes directory. You can include these snippets in your layouts and pages using Liquid tags:
By customizing layouts and pages, you can create a cohesive and engaging user experience that aligns with your brand and objectives.
Step 5: Adding Content to Your Jekyll Site
Content is the heart and soul of your website, and Jekyll makes it easy to create and manage content using Markdown, a simple text formatting language. Let’s explore how to add and organize content on your Jekyll site:
Writing Blog Posts
Creating blog posts with Jekyll is a breeze. All you need to do is create Markdown files in the _posts directory, following the YYYY-MM-DD-title.md naming convention. Here’s a basic example of a blog post:
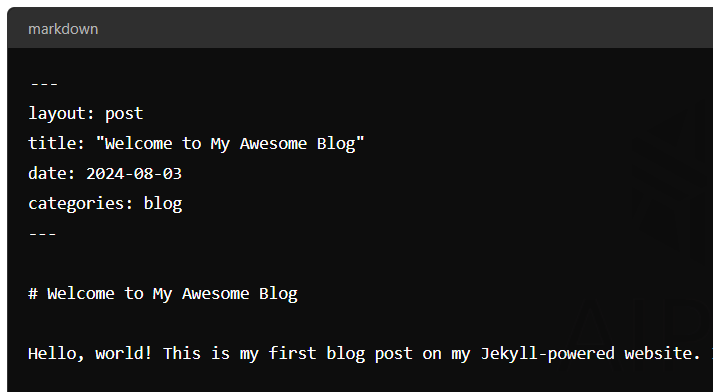
Front Matter: The front matter is a YAML block at the beginning of each post that contains metadata, such as the layout, title, date, and categories.
Markdown Syntax: Jekyll supports Markdown syntax, allowing you to format your content easily. Use headings, lists, links, images, and more to enhance your posts.
Categories and Tags: Organize your posts by assigning categories and tags in the front matter. This makes it easier for visitors to navigate and discover related content.
Creating Static Pages
In addition to blog posts, Jekyll allows you to create static pages, such as an “About” page or a “Contact” page. Static pages provide essential information about your site and its purpose.
To create a static page, add a Markdown file to the root directory and specify the layout:
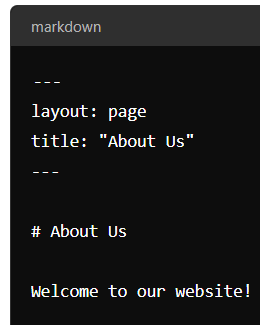
Layout Selection: Choose a layout that matches the purpose of your page. For example, you might use a page layout for informational content.
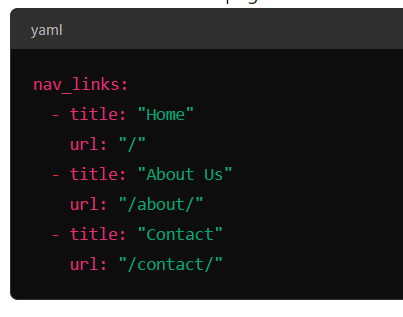
Navigation Links: To add static pages to your site’s navigation, update your _config.yml file to include links to these pages:
Utilizing Collections for Custom Content
Collections are a powerful feature in Jekyll that allows you to create custom content types beyond posts and pages. Whether you’re building a portfolio, a recipe site, or a product catalog, collections offer a flexible way to organize and display content.
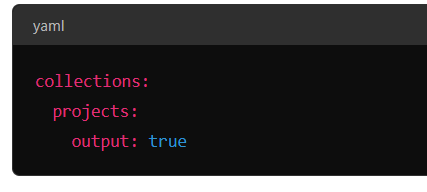
To create a collection, add a new directory to your Jekyll site and configure it in _config.yml:
Collection Directory: Add Markdown files to the collection directory (_projects in this example) to create custom entries.
Front Matter: Similar to posts, collection entries can have a front matter to define metadata, such as titles, dates, and categories.
Output Setting: The output setting determines whether the collection entries should be rendered as individual pages. Set it to true if you want each entry to have its own page.
Step 6: Deploying Your Jekyll Site
With your Jekyll site built and customized, it’s time to go live! GitHub Pages is a popular, free hosting option for Jekyll sites.
Hosting with GitHub Pages
Deploy your Jekyll site on GitHub Pages with these steps:
- Create a GitHub Repository: Create a new repo matching your site’s name on GitHub.
- Push Your Site to GitHub: Add your Jekyll project to the repo and push changes.
- Enable GitHub Pages: In the repo settings, enable GitHub Pages to serve your site. Choose the main branch or docs/ folder for deployment.
Custom Domain Setup
To use a custom domain, follow these steps:
- Add a CNAME File: Include a CNAME file in your site’s root with your domain name:

- Update DNS Settings: Configure your domain’s DNS settings to point to GitHub Pages IPs.
- Enforce HTTPS: Enable HTTPS in your GitHub repo settings for a secure connection.
Deploying with GitHub Pages makes your Jekyll site live and accessible, showcasing your creation to the world!
Final Thoughts
Creating a static website with Jekyll opens up a world of possibilities for web developers and content creators alike. From its simplicity and flexibility to its seamless integration with GitHub Pages, Jekyll provides a robust platform for building fast, secure, and highly customizable websites.
With each step, from setting up your development environment to deploying your finished site, you’re not just building a website – you’re honing valuable skills in web development, content management, and version control.
So, dive in, experiment, and don’t be afraid to leverage the wealth of resources and community support available. Your perfect static website awaits, and with Jekyll, you have all the tools you need to bring it to life. Happy coding!