


WordPress, being one of the most popular content management systems, is utilized by millions of websites worldwide. One crucial functionality of any website is the ability to send emails, whether it’s for user registrations, password resets, or communication with subscribers.
However, sometimes WordPress encounters issues with sending emails, which can be frustrating for website owners.
In this comprehensive guide on how to fix the WordPress not sending emails issue, we’ll delve into the significance of fixing the WordPress not sending emails issue and provide detailed steps for both beginners and expert users to troubleshoot and resolve this problem effectively.
Significance of Fixing the WordPress Not Sending Emails Issue:
Email communication is vital for website functionality and user engagement. Here’s why resolving the WordPress not sending emails issue is significant:
1. User Experience:
Users expect prompt communication from websites, including email confirmations for registrations, password resets, and notifications. Failure to receive these emails can lead to a poor user experience and frustration.
2. Business Operations:
For websites running businesses or e-commerce platforms, email notifications play a crucial role in order confirmations, shipping updates, and customer support. Failure to send these emails can disrupt business operations and lead to lost sales or customer dissatisfaction.
3. Security Concerns:
Email notifications often contain sensitive information, such as account credentials or transaction details. If WordPress fails to send these emails, it could raise security concerns, especially if users are unaware of their actions due to lack of email confirmations.
4. Reputation Management:
Consistent communication builds trust between websites and users. If emails fail to send consistently, it can damage the reputation of the website, leading to decreased user trust and credibility.
Now, let’s delve into the step-by-step process of fixing the WordPress not sending emails issue, catering to both beginners and expert users:
For Beginners:
1. Check Spam Folder:
- Sometimes, emails from WordPress might end up in the spam folder. Advise users to check their spam or junk folder to see if the emails are there.
2. Verify Email Settings:
- In the WordPress dashboard, navigate to Settings > General.
- Ensure that the email address configured in the “Email Address” field is correct.
- Consider using a professional email address associated with the domain of the website for better deliverability.
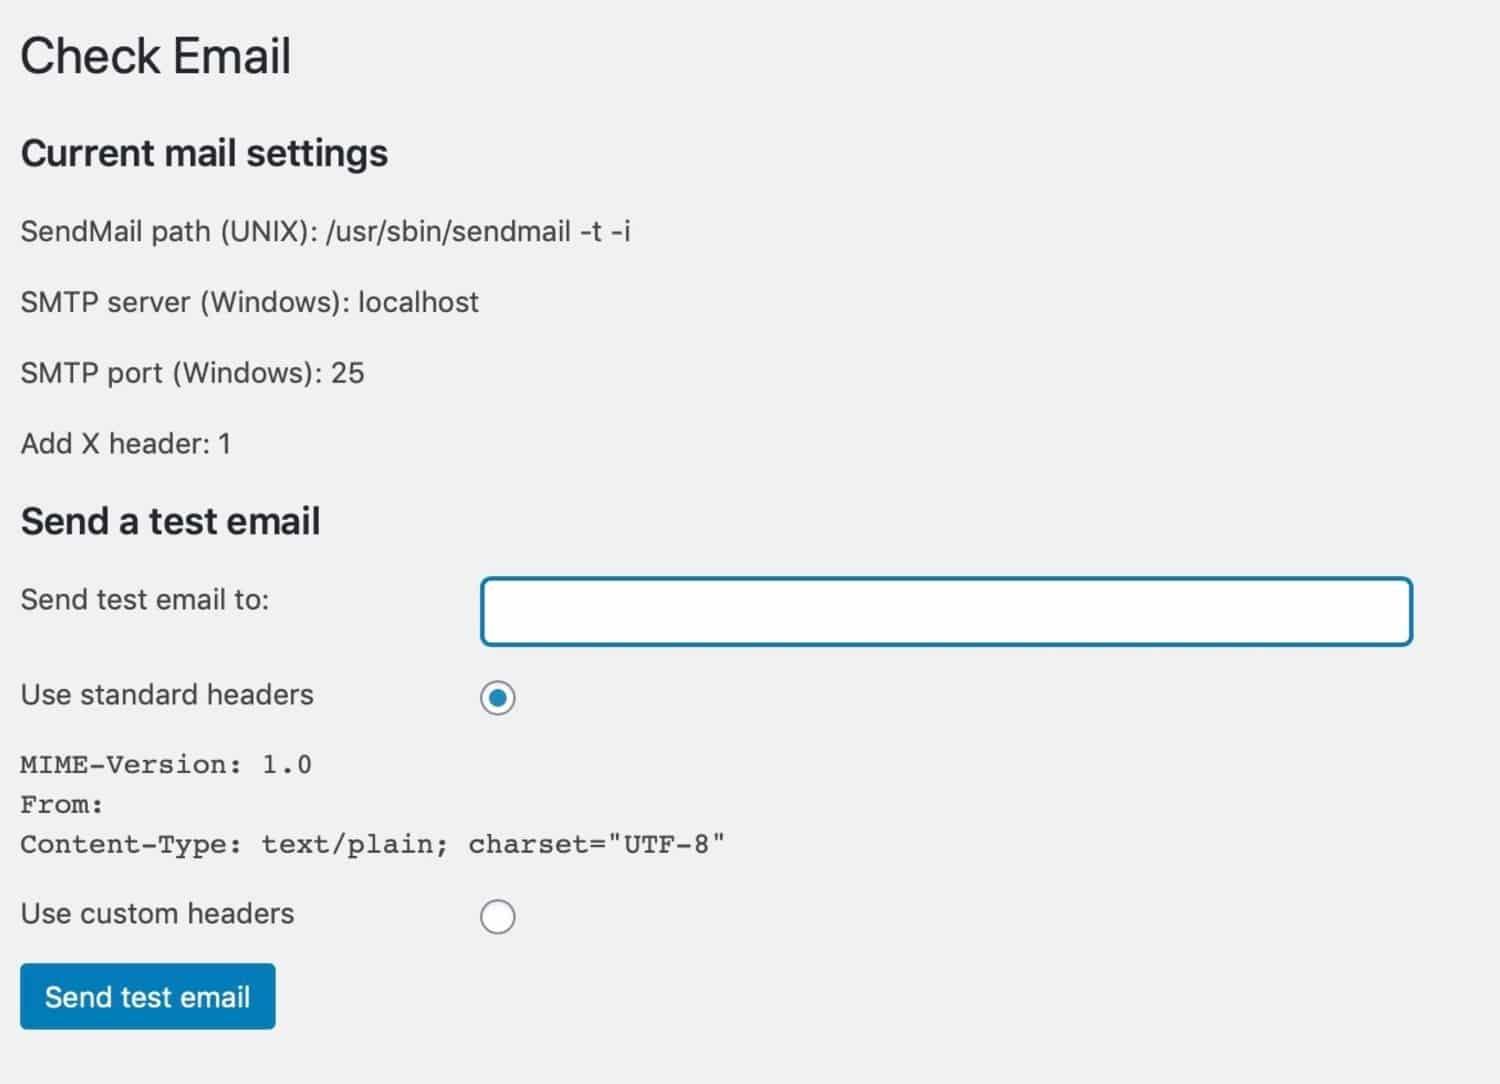
3. Use SMTP Plugin:
- Install and activate an SMTP (Simple Mail Transfer Protocol) plugin such as WP Mail SMTP.
- Configure the plugin settings by providing SMTP server details from your email provider (e.g., Gmail, SendGrid).
- Test email delivery by sending a test email from the plugin settings.
4. Contact Hosting Provider:
- If the issue persists, reach out to the hosting provider’s support team.
- They can check server configurations and ensure that email functionality is enabled on the server.
For Expert Users:
1. Check Email Logs:
- Access server logs to check if WordPress is attempting to send emails and if there are any error messages.
- Analyze the logs to identify potential issues such as misconfigurations or email delivery failures.
2. Verify DNS Settings:
- Ensure that the domain’s DNS settings, including MX (Mail Exchange) records, are correctly configured.
- Use DNS lookup tools to verify DNS records and troubleshoot any discrepancies.
3. Disable Plugins:
- Temporarily deactivate all plugins and switch to a default WordPress theme.
- Test email functionality to determine if a plugin or theme conflict is causing the issue.
- Reactivate plugins and themes one by one while testing email functionality to identify the conflicting component.
4. Server Configuration:
- Check server configurations, including PHP mail settings and server firewall rules.
- Ensure that outbound SMTP connections are not blocked by the server or firewall.
- Consult with server administrators to troubleshoot server-side issues affecting email delivery.
Conclusion:
Fixing the WordPress not sending emails issue is crucial for maintaining smooth website operations, ensuring user satisfaction, and upholding security standards.
By ensuing the step-by-step troubleshooting guide provided in this article on how to fix the WordPress not sending emails issue, both beginners and expert users can effectively diagnose and resolve email delivery issues in WordPress.
Remember to regularly monitor email functionality and implement best practices to ensure reliable email communication from your WordPress website.


Leave a Reply