


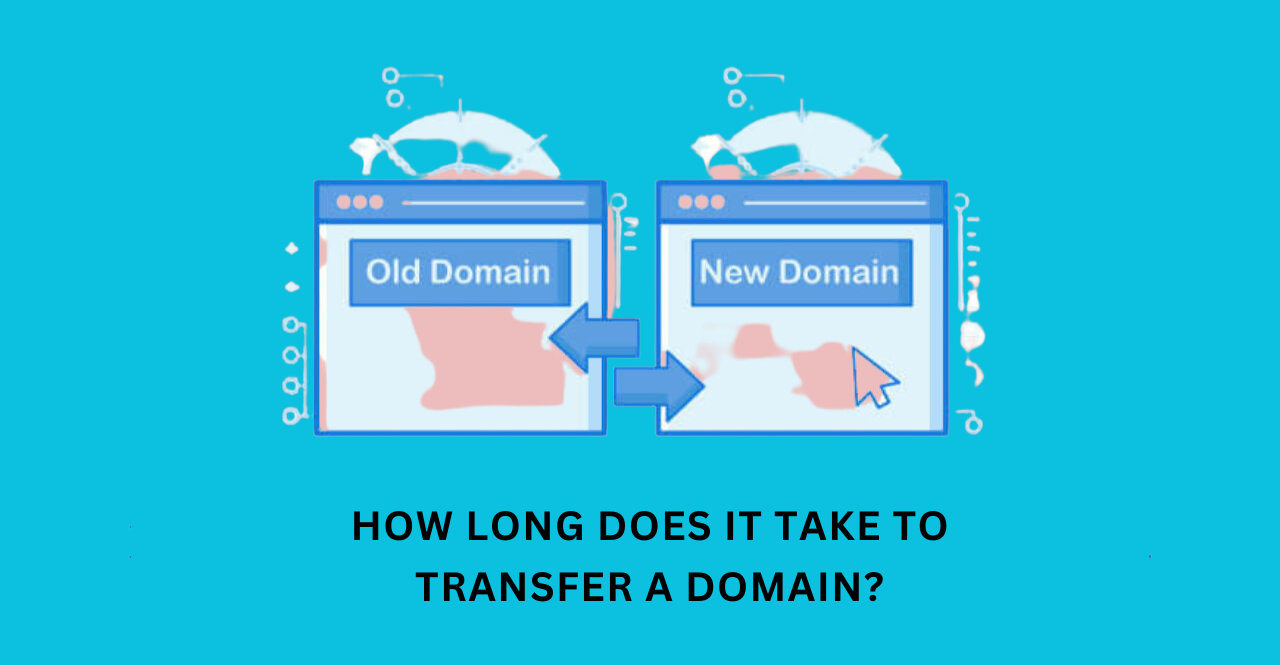
Transferring a domain name is an important process that can take anywhere from a few hours to several days, depending on the type of domain and the registrar. It’s important to note that transferring your domain registration from one registrar to another is different from transferring the ownership of a domain.
In the former case, the registrant remains the same, while in the latter case, it changes. In the following article, we will explain the entire process of domain transfer step-by-step and discuss what to expect from each stage of the transfer. So without any further ado, let’s begin.
Reasons for Transferring a Domain:
There are many reasons why one might need to transfer a domain, but some of the most common ones include:
- Moving to a registrar that offers better services and features
- Lower fees or discounts on renewals
- Access to more domain extensions
- Easier management tools and account options
- To protect a brand from being registered by someone else
Benefits of Transferring a Domain:
Before we jump on to how you can transfer your domain, let’s have a look at the many benefits it brings to you:
- It’s an easy way to consolidate all of your domains into one registrar
- Transferring a domain can help you save money on registration and renewal fees
- You may be able to transfer the domain quickly, depending on the registrar
- It can help you maintain control of your domain if it’s registered with a different registrar
- It can help you ensure that the domain is secure and protected from unauthorized transfers
- It can help you keep your domain name if the original registrar has gone out of business or stopped offering services.
Common Misconceptions about Domain Transfer:
Many people mistakenly believe that transferring a domain is an instantaneous process. However, this is not the case. Domain transfers can take anywhere from a few hours to several days depending on the type of domain and the registrar. It’s important to be aware of the transfer process and how long it can take.
Preparing for Domain Transfer
Checking Your Domain Eligibility for Transfer:
The first step is to make sure that your domain is eligible for transfer. Generally, most domains can be transferred, but there are some exceptions such as certain new TLDs (top-level domains). It’s important to check with the current registrar and make sure your domain meets their requirements before you begin the transfer process.
Gathering Required Information and Documentation:
To successfully transfer a domain, you will need to have certain information and documents ready. This includes the current registrar’s authorization code, administrative contact details, and proof of ownership (if applicable). Additionally, you may also need to provide proof of address or other identification documents depending on the registrar.
Unlocking Your Domain and Disabling Privacy Protection:
Before you can transfer your domain, you must unlock it and disable any privacy protection. This is usually done through the current registrar’s interface, but some may require that you contact them directly in order to do so. You should also check with your new registrar to make sure they accept transfers of locked domains.
Initiating the Domain Transfer Process
Choosing a New Registrar or Hosting Provider:
Once you have your documents and information ready, it’s time to pick a new registrar or hosting provider. There are many reputable companies out there that offer domain transfers, so take the time to compare their features and prices before making a decision. It’s also important to make sure that the registrar you choose is accredited by ICANN (Internet Corporation for Assigned Names and Numbers).
Initiating the Domain Transfer Request:
Once you have chosen a new registrar or hosting provider, you can initiate the transfer request. Generally, this is done through the current registrar’s interface, but some may require that you contact them directly to do so. Depending on the registrar, you may be able to initiate the transfer online or through email. You will also need to provide the authorization code (if applicable) and any other information that is required.
Confirming the Domain Transfer Authorization:
Once the transfer request is initiated, you will need to confirm the authorization. This is usually done through email and can take several days depending on the registrar. After the authorization is confirmed, the domain transfer process is complete and you will be able to manage your new domain through the new registrar’s interface. It’s important to keep in mind that some registrars may take longer than others, so it’s best to check with them beforehand.
Domain Transfer Timeline
Typical Domain Transfer Timeframes:
The length of time it takes to transfer a domain can vary depending on the type of domain as well as the registrar. Generally, most domain transfers take between 1-7 days. However, some types of domains (such as .com and .net) may take up to 10 days or longer. It’s important to check with the registrar before initiating a domain transfer to get an estimate of how long it will take.
Factors that Affect Domain Transfer Time:
The length of time it takes to transfer a domain can be affected by several factors. These include the type of domain, the registrar, whether the domain is locked or unlocked, and whether privacy protection is enabled. Additionally, certain registrars may take longer than others to process transfers, so make sure you check with them beforehand. Also, note that some registrars may not accept transfers of locked domains.
Checking the Status of Your Domain Transfer:
Once a domain transfer is initiated, it’s important to keep track of the status. Most registrars will provide you with an email notification once the transfer is completed. Additionally, you can also check the status through the current and new registrar’s interfaces. This will help ensure that the domain transfer process is going smoothly and that there are no unexpected delays.
Troubleshooting Domain Transfer Issues
Common Transfer Issues and Error Messages:
Sometimes there can be complications during the domain transfer process. If you encounter any errors or issues, it’s important to contact the current and new registrar in order to resolve the issue. Common issues include incorrect information being provided, authorization code errors, and domain lock issues.
Resolving Domain Transfer Disputes:
If there is a dispute regarding the transfer of a domain, it’s important to contact both the current and new registrar in order to resolve the issue. Generally, they will be able to provide assistance and help you get the domain transferred successfully. If they can’t resolve the issue, you may need to contact ICANN or a dispute resolution service in order to resolve the dispute.
Seeking Assistance from Your Registrar or Hosting Provider:
If you are having trouble with the domain transfer process, it’s best to contact your registrar or hosting provider for assistance. They should be able to provide helpful information and guide you through the process. Additionally, they may be able to help troubleshoot any issues or errors that may arise during the transfer process.
Future Trends in Domain Transfer Technology and Standards:
As technology advances, domain transfer procedures are becoming increasingly streamlined and standardized. New protocols, such as the Extended Domain Transfer Protocol (EDTP), are being developed to make the process more secure and efficient.
Additionally, many registrars are starting to offer services that allow for automated transfers with minimal manual intervention. This helps improve both the security and speed of the transfer process.
Conclusion:
Domain transfer is an important process for any website owner. It can take a few days to several weeks depending on the type of domain and registrar. To ensure that the domain transfer process goes smoothly, it’s important to check with the current and new registrars beforehand, keep track of the status, and seek assistance if needed.
Additionally, if there is a dispute during the transfer process, it’s important to contact ICANN or a dispute resolution service to resolve the issue. We hope that this article has helped provide you with all the necessary information you need regarding domain transfer, if you have any other queries, feel free to contact us. We’ll be happy to help!
Domain Transfer FAQs
Q: How long does a domain transfer take?
A: Generally, it takes between 1-7 days for a domain transfer to complete. However, it can take up to 10 days or longer depending on the type of domain and the registrar.
Q: What can I do if my domain transfer is taking too long?
A: You should contact both the current and new registrar to check the status of the transfer. Additionally, you can also contact ICANN or a dispute resolution service if there is a dispute regarding the transfer.
Q: What can I do if there is an error during the transfer process?
A: If you encounter any errors or issues, contact the current and new registrar to resolve the issue. They should be able to provide assistance and help you get the domain transferred successfully.
Q: How can I check the status of a domain transfer?
A: You can contact the current and new registrar to check the status of the transfer. Additionally, most registrars will send you an email notification once the transfer is completed.


Leave a Reply