
Optimizing images for the web is a crucial skill for all developers, digital creatives, and brands willing to build a well-functioning, user-friendly site to grow their followers and increase conversion rates. Fortunately, the process is pretty simple and quick, which makes it easy for people with zero tech knowledge to create a visually appealing and high-performing online space tailored to their needs. This guide covers all the key points about image optimization for website so you will get through the process as smoothly as possible.
What Does It Mean to Optimize Images for Web?
Image optimization involves finding the right balance between image quality, which is responsible for the visual component of the site, and image data, which may slow down its load times. It’s all about saving and delivering pictures in the smallest possible size without affecting their overall quality.
Even though the process seems daunting, modern technologies allow completing it without hassle. Using the right tools, it’s even possible to reduce the size of a web picture by up to 95% with no visible quality loss.
Why Image Optimization for Website Is Important
Optimized images deliver many benefits, ensuring the overall improvement in the site’s performance and user experience. Here are some of the top advantages you should know about:
- Faster page speed: the time it takes a page to open completely depends on various factors, from the website host to its design and layout. Noteworthy, pictures are the second-heaviest item on an internet page after videos, and they can increase load times greatly if not optimized.
- Higher SEO ranking: Google gives priority to fast-loading sites. Therefore, by optimizing images, you also improve your website’s ranking in search results, boosting organic traffic and the visibility of your platform.
- Better conversion rates: sites that open efficiently and quickly often have higher conversion rates. According to statistics, 47% of consumers expect an average web platform to open in under 2 seconds, and 70% admit that page speed affects their willingness to purchase from an online retailer.
How to Optimize Images for Web
The optimization process is all about delivering top-quality images in the right size, resolution, format, and dimension. So, keep the following tips in mind to handle the task in the best way possible:
Image Format (JPG vs. PNG vs. GIF)
The majority of website owners opt for raster file formats like JPG (JPEG), PNG, and GIF for their images. Here’s when each of them is better to use:
- JPG: the most popular format for storing and sharing images on the web due to its ability to be compressed significantly while maintaining quality.
- PNG: a great choice for graphics, charts, and logos with transparent backgrounds. Despite its high quality, the format is larger in size.
- GIF: used for animated images and looped clips. Its palette is limited to just 256 colors, which is very small compared to JPG and PNG, supporting 16 million colors.
Easy Steps to Switch Image Format Online
Whenever you want to convert GIF to JPG, PNG to JPG, or GIF to PNG, you can do this in seconds using PDF Guru – arguably the most popular online service for switching formats without quality loss. The tool has more than 20,000 reviews on Trustpilot, the absolute majority of which are 5-star, which has resulted in a great TrustScore of 4.2 and proved the efficiency of the platform. The converter also accepts many other file types, in case you want to see how your images look in WEBP, Heic, AVIF, SVG, etc.
PDF Guru is designed to boost your productivity, so you can manage your web content easily and quickly using a PC, tablet, or mobile phone. Intuitive interface and high performance ensure smooth conversions, while the whole process takes just a few steps:
1. Access PDF Guru through any browser installed on your device.
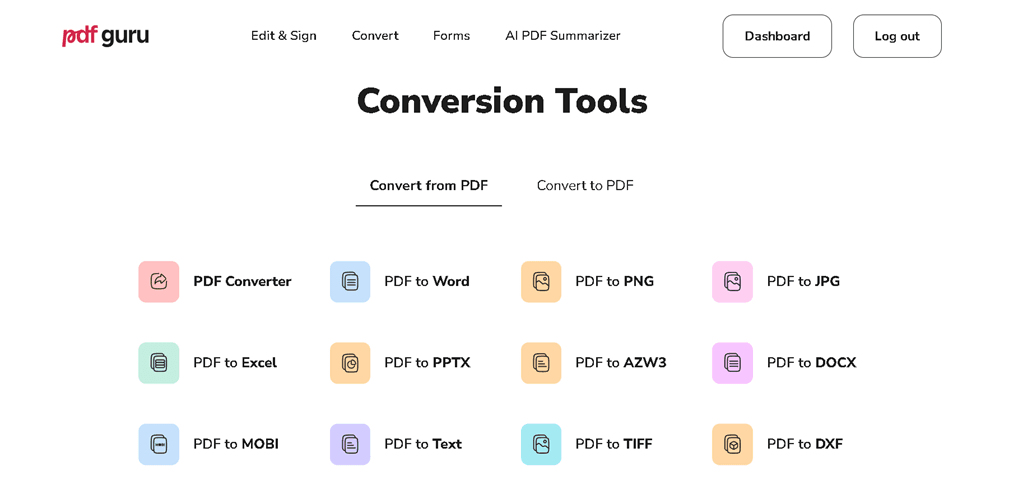
2. Open the ‘Convert’ tab to see a list of all available tools.
3. Choose the needed tool according to your conversion needs.
4. Hit ‘+’ and upload the needed image from your files. Alternatively, you can drag and drop the file into the upload area.
5. The tool will automatically process and convert your image without quality loss.

6. Download the converted image on your device.
Compression
Compression is the best way to optimize images for web, and it comes in two forms: lossy or lossless. With the first one, your images may load faster, although their quality might suffer a bit, with almost no difference to the human eye. Lossless files, on the contrary, preserve their best quality but decrease your site speed. When it comes to general website use, lossy compression is the top choice since users will see all the pictures clearly without waiting for them to load.
Best Online Image Compressors
There are many image compression tools to reduce the size of your pictures quickly and efficiently. The most popular ones include:
- Compressor.io – simple yet efficient tool that handles both lossless and lossy JPEG, PNG, SVG, GIF, and WEBP file compression.
- GIMP – feature-packed graphics editor with numerous customization options, third-party plugins, and photoshop-like functionality (masking, filters, layers, etc.).
- TinyPNG – popular online tool that uses lossy compression to reduce the size of JPEG, PNG, AVIF, and WEBP images.
- Kraken.io – top-quality image compressor and optimizer allowing you to reduce the weight of your web pictures by up to 90%; supports JPEG, PNG, WEBP, GIF, AVIF, SVG, and HEIC.
- Squoosh – convenient tool for compressing JPEG, PNG, AVIF, and WEBP images. It also has numerous advanced settings to help you get the job done in the best way possible.
Image Dimension
When you import images from your digital camera or phone, they typically have large file dimensions (width and height) starting from 2000 pixels, which is unsuitable for websites.
With that in mind, it’s better to reduce image size, as highlighted in the table below:
| Image Type | Dimensions (width and height) | Aspect Ratio |
|---|---|---|
| Background images | 1920 x 1080 | 16:9 |
| Website banner | 250 x 250 | 1:1 |
| Logo (square) | 100 x 100 | 1:1 |
| Logo (rectangle) | 250 x 100 | 2:3 |
| Hero images | 1280 x 720 | 16:9 |
| Blog images | 1200 x 630 | 3:2 |
| Favicon | 16 x 16 | 1:1 |
| Social media icons | 32 x 32 | 1:1 |
| Thumbnail images | 150 x 150 | 1:1 |
How to Change Image Dimensions Quickly and Easily
Resizing images has long ceased to be a time-consuming and tedious process. With so many useful tools available today, you can change the dimensions of your web pictures without hassle, as well as enhance their quality right away using advanced editing features. Check out the top 5 image resizers to make a well-informed choice:
- soona – an all-in-one web service to create, optimize, and manage graphics and video content for different ecommerce channels.
- PicResize – an efficient online tool for cropping, editing, and resizing pictures for YouTube, Facebook, Twitter, and LinkedIn.
- Fotor – a high-quality platform renowned for its extensive range of advanced editing features. Besides resizing, you can use it to crop and shape images, blur background, add frames, and more.
- Picsart – AI-based design tool empowering you to modify photos in a variety of ways, ensuring that your web content looks crisp on any device.
- Fotosizer – a downloadable app for Windows designed for resizing pictures in bulk using different modes and advanced settings.
Final Thoughts
Optimizing images for web publishing will make a considerable difference in your website’s speed and its overall appeal. Not to mention, faster sites work well for SEO, so you are likely to increase your search rankings. Convert your images to JPG, use top-quality compression tools, and resize your files to optimize them for web use – your site visitors will thank you for this!