Hosting websites for clients can seem daunting, especially if you’re not deeply familiar with the technical aspects of web development and server management. However, with the right approach and tools, even beginners can set up and manage professional websites for their clients with ease. This guide outlines three super easy methods for hosting websites—using website builders, content management systems (CMS) with cheap managed vps server, and platform-as-a-service (PaaS) solutions. Each method is broken down into detailed step-by-step instructions to ensure that you can understand and implement the process effectively, regardless of your technical background.
Here’s a detailed step-by-step guide to hosting websites for clients using super easy methods.
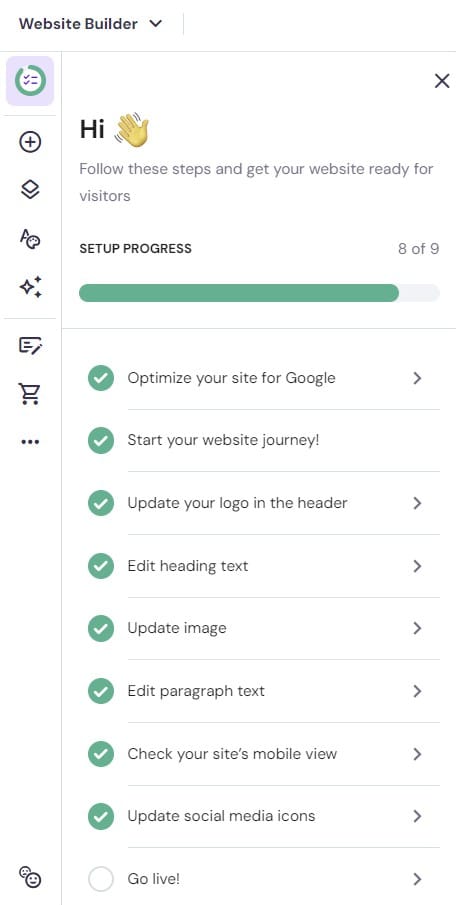
Method 1: Using a Website Builder
Website builders are platforms that allow you to create and host websites without needing deep technical knowledge. Examples include Wix, Squarespace, and Weebly.
Step-by-Step Process:
- Choose a Website Builder:
- Research different website builders to find one that fits your client’s needs. Consider factors like ease of use, features, pricing, and support.
- Sign Up for an Account:
- Go to the chosen website builder’s website and create an account. This typically requires an email address and some basic information.
- Select a Template:
- Most website builders offer a variety of templates. Choose one that aligns with the client’s business and customize it to fit their branding.
- Customize the Website:
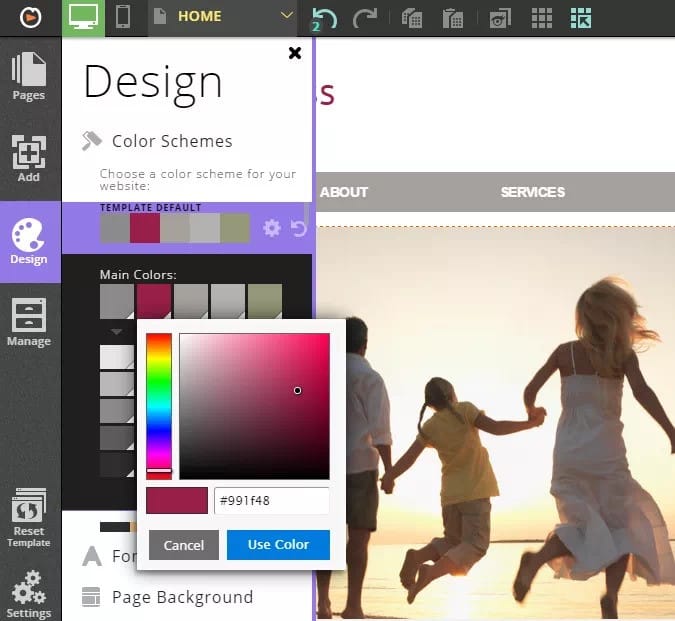
- Use the drag-and-drop interface to add text, images, videos, and other elements. Website builders often have tools to help you design the site easily.
- Customize colors, fonts, and layouts to match the client’s brand.
- Add Functionalities:
- Depending on the client’s needs, add functionalities like contact forms, e-commerce features, blogs, and social media integrations. Website builders usually offer a range of plugins or built-in features.
- Domain and Hosting:
- Most website builders offer domain registration services. You can purchase a new domain or connect an existing one.
- Hosting is included in the website builder package, so you don’t need to worry about setting up hosting separately.
- Publish the Website:
- Once everything is set up, preview the website to ensure everything looks good.
- Click the ‘Publish’ button to make the website live. The website builder will handle all the technical details of hosting.
- Maintain the Website:
- Regularly update the content and check for any updates or new features offered by the website builder. Ensure the website remains secure and functional.
Method 2: Using a Content Management System (CMS) with Managed Hosting
A CMS like WordPress is a popular option for hosting websites due to its flexibility and the extensive ecosystem of themes and plugins.
Step-by-Step Process:
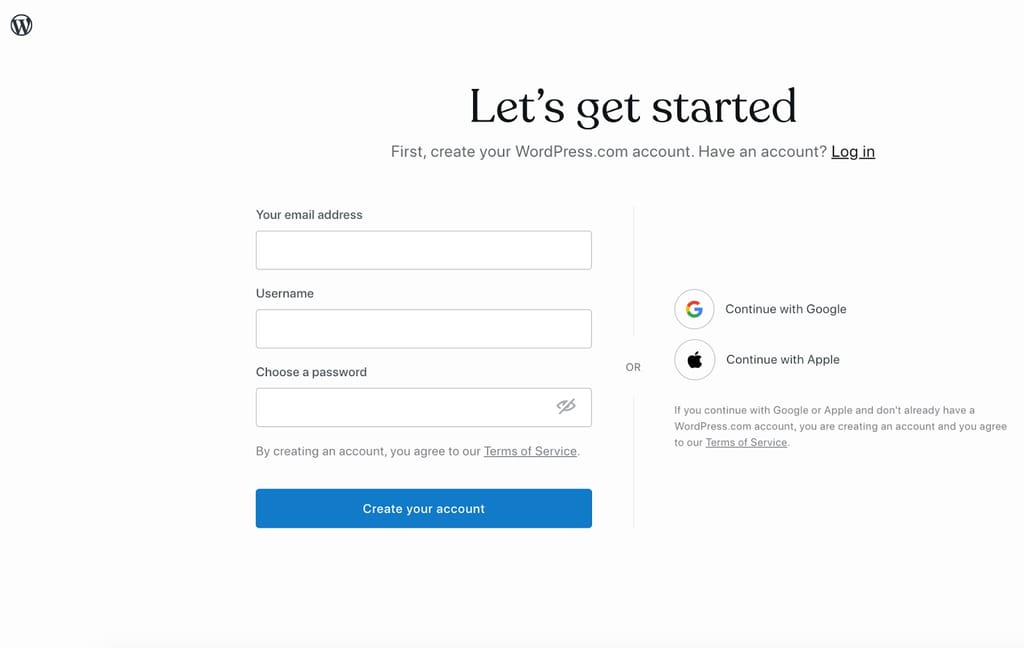
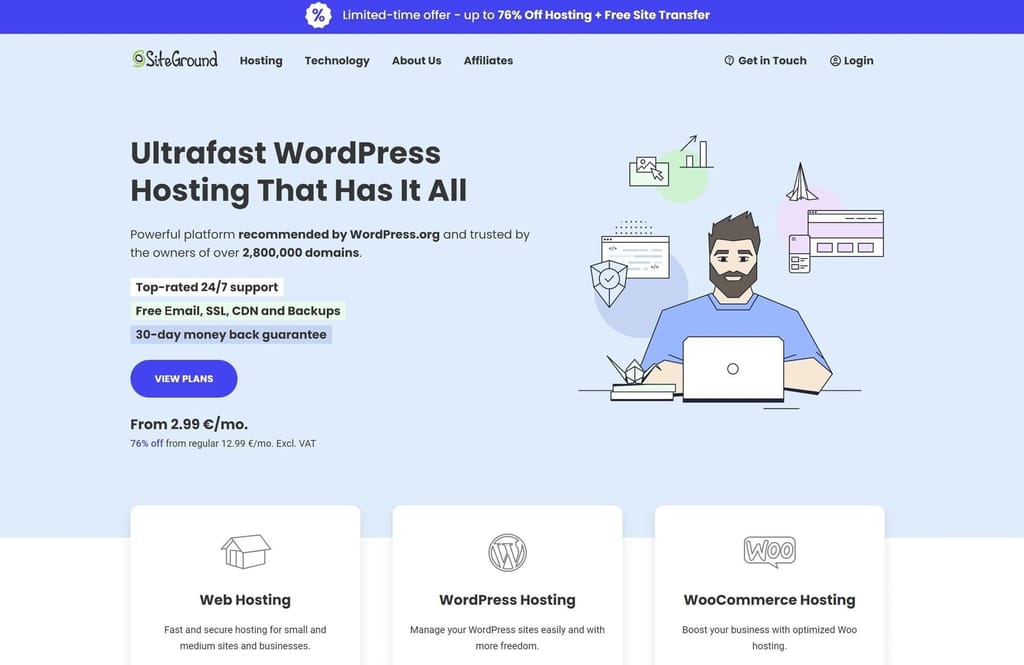
- Choose a Managed WordPress Hosting Provider:
- Examples include Bluehost, SiteGround, and WP Engine. Managed hosting providers handle server management, security, and updates.
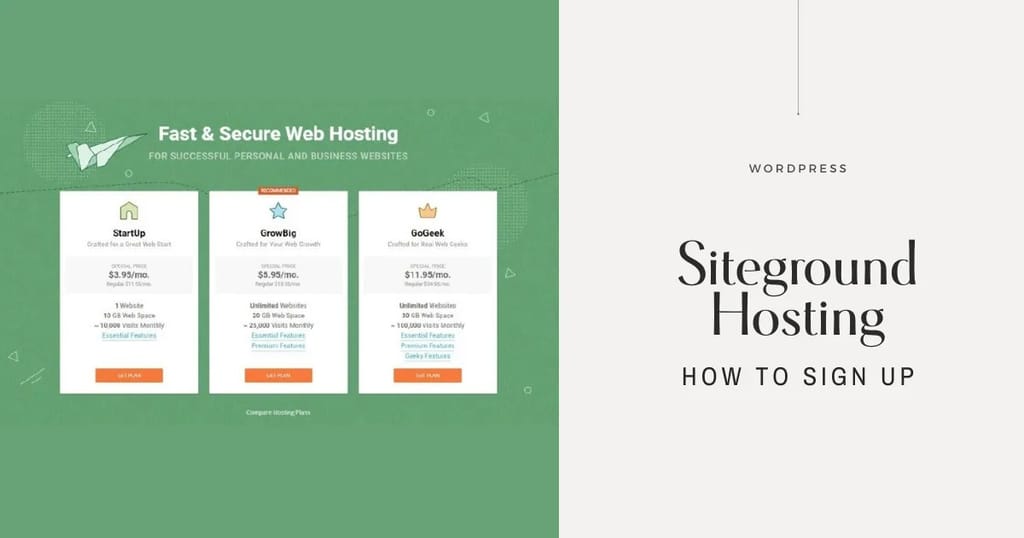
- Sign Up for a Hosting Plan:
- Visit the hosting provider’s website and choose a plan that suits your client’s needs. The best affordable wordpress hosting plans often come with pre-installed WordPress.
- Register a Domain:
- During the signup process, you can register a new domain or use an existing one. The hosting provider usually offers domain registration services.
- Set Up WordPress:
- If the hosting provider doesn’t pre-install WordPress, use the one-click installer provided. Follow the prompts to set up WordPress.
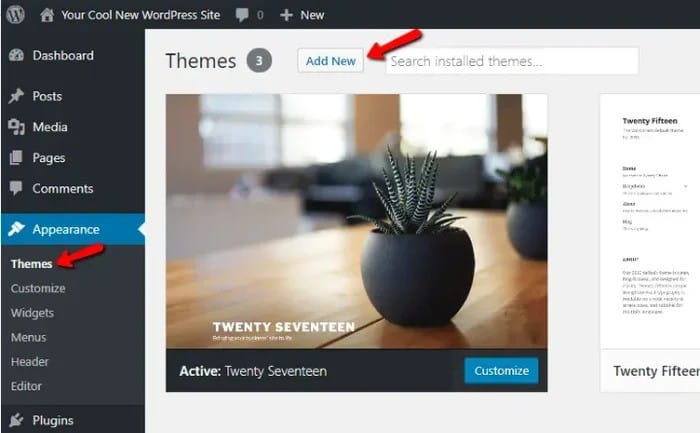
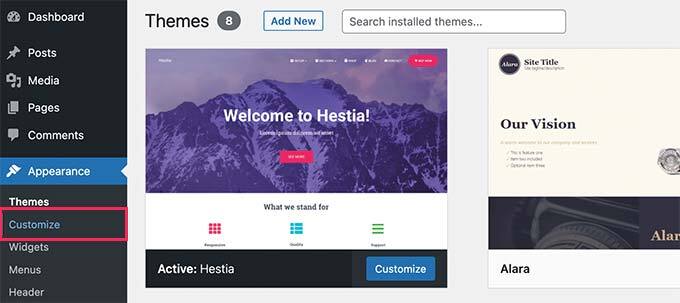
- Choose and Install a Theme:
- Log in to the WordPress dashboard and navigate to “Appearance” > “Themes.” Choose a free theme or purchase a premium one that suits the client’s business.
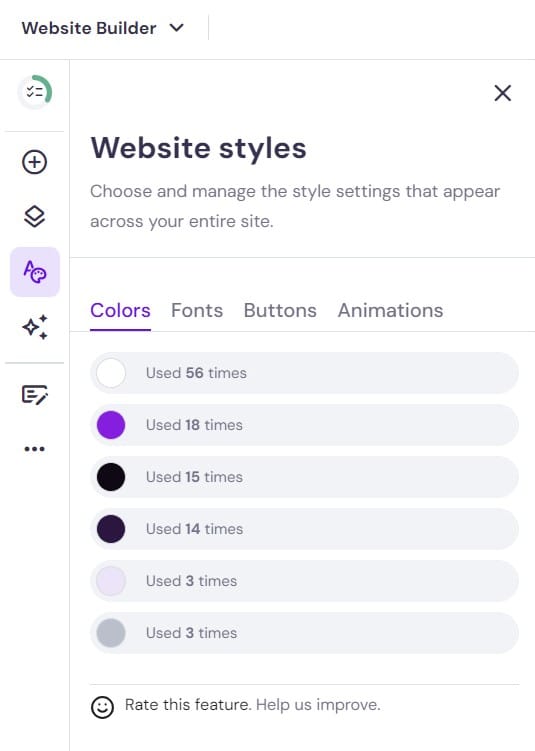
- Customize the Website:
- Use the WordPress customizer to adjust the theme’s appearance. Add pages, posts, and other content. Utilize plugins to add functionality (e.g., contact forms, SEO tools, e-commerce).
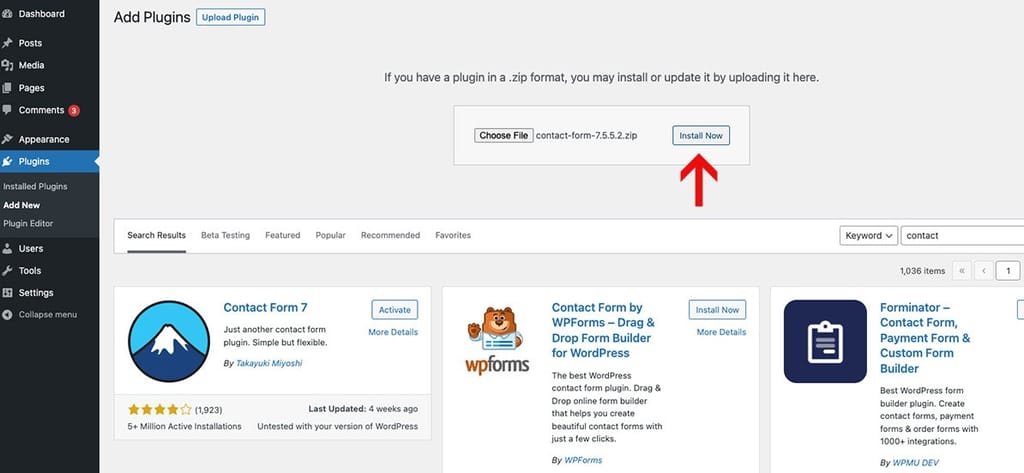
- Configure Essential Plugins:
- Install and configure essential plugins for security (e.g., Wordfence), SEO (e.g., Yoast SEO), backups (e.g., UpdraftPlus), and performance (e.g., WP Rocket).
- Set Up Domain and SSL:
- Ensure the domain is connected to the hosting provider correctly. Most managed hosts offer free SSL certificates; enable SSL for secure connections.
- Publish the Website:
- Once everything is configured and customized, preview the site. Make any necessary adjustments, then publish the site.
- Maintain the Website:
- Regularly update WordPress core, themes, and plugins. Monitor the site for performance and security issues. Managed hosting providers often provide automatic backups and updates, simplifying maintenance.
Method 3: Using a Platform-as-a-Service (PaaS) Solution
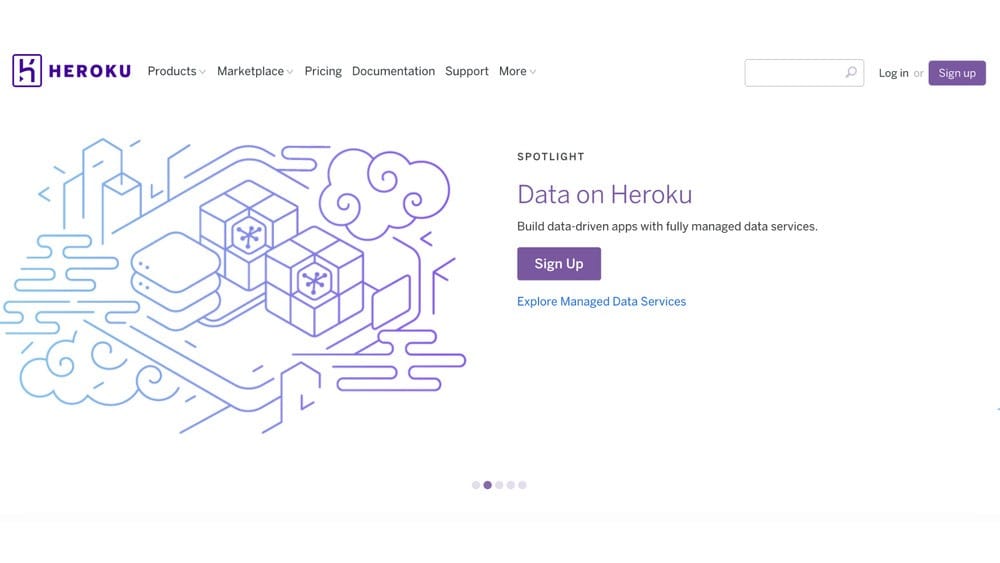
PaaS solutions like Heroku or Google App Engine can host websites, providing a balance between control and ease of use.
Step-by-Step Process:
- Choose a PaaS Provider:
- Examples include Heroku, Google App Engine, and Microsoft Azure. Compare features, pricing, and ease of use.
- Create an Account:
- Sign up for an account on the PaaS provider’s website. This typically requires an email address and basic information.
- Set Up Your Development Environment:
- Depending on the PaaS, you might need to install command-line tools (e.g., Heroku CLI) and set up Git for version control.
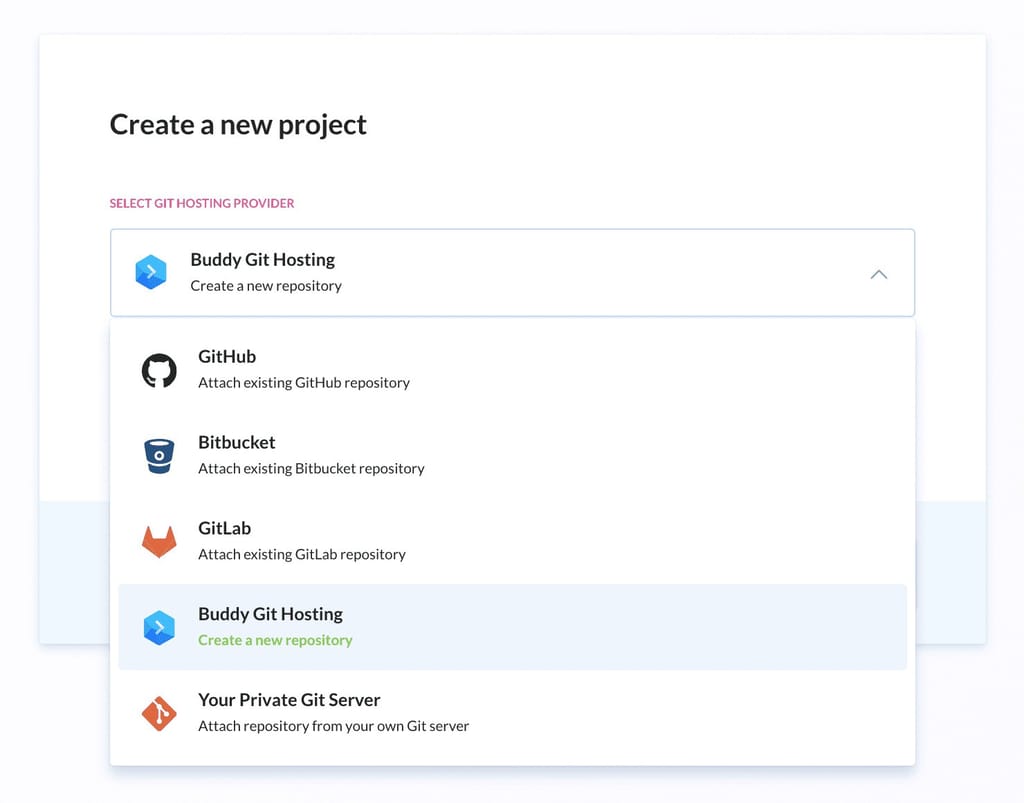
- Create a New Project:
- Use the provider’s interface or CLI to create a new project. Follow the prompts to configure basic settings.
- Develop Your Website:
- Develop your website locally using a technology stack supported by the PaaS (e.g., Node.js, Python, Ruby). Ensure the website is ready for deployment.
- Deploy to the PaaS:
- Use the PaaS provider’s deployment process (often involving Git commands) to deploy the website. Follow the provider’s documentation for specifics.
- Configure the Domain:
- Add your domain to the PaaS project. Follow the provider’s instructions to configure DNS settings and point the domain to the PaaS service.
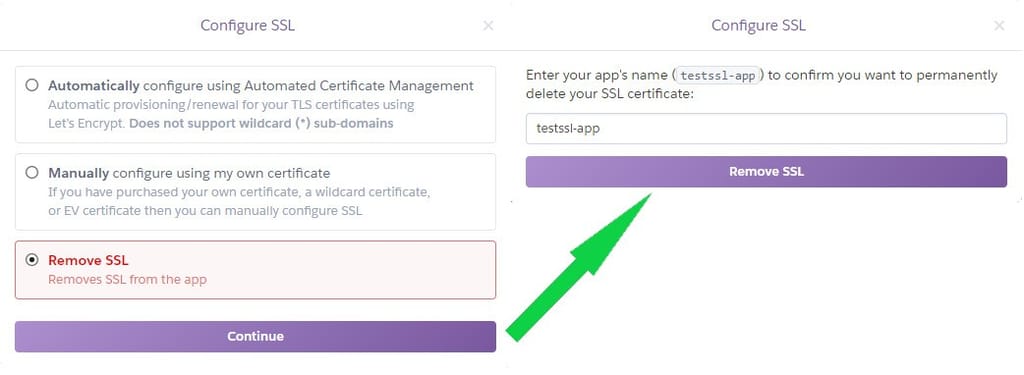
- Enable SSL:
- Ensure the website is secure by enabling SSL. Most PaaS providers offer free SSL certificates and easy configuration.
- Monitor and Scale:
- Use the PaaS monitoring tools to keep an eye on the website’s performance. Scale resources as needed to handle traffic.
- Maintain the Website:
- Regularly update your application and redeploy as necessary. PaaS providers often handle server management and security, simplifying maintenance.
Conclusion
These methods provide a range of options depending on your technical skills and the specific needs of your clients. Website builders are great for quick and easy setups, CMS platforms like WordPress offer more flexibility, and PaaS solutions provide a balance of control and ease of use. Each method ensures that you can host websites for clients efficiently and effectively.