


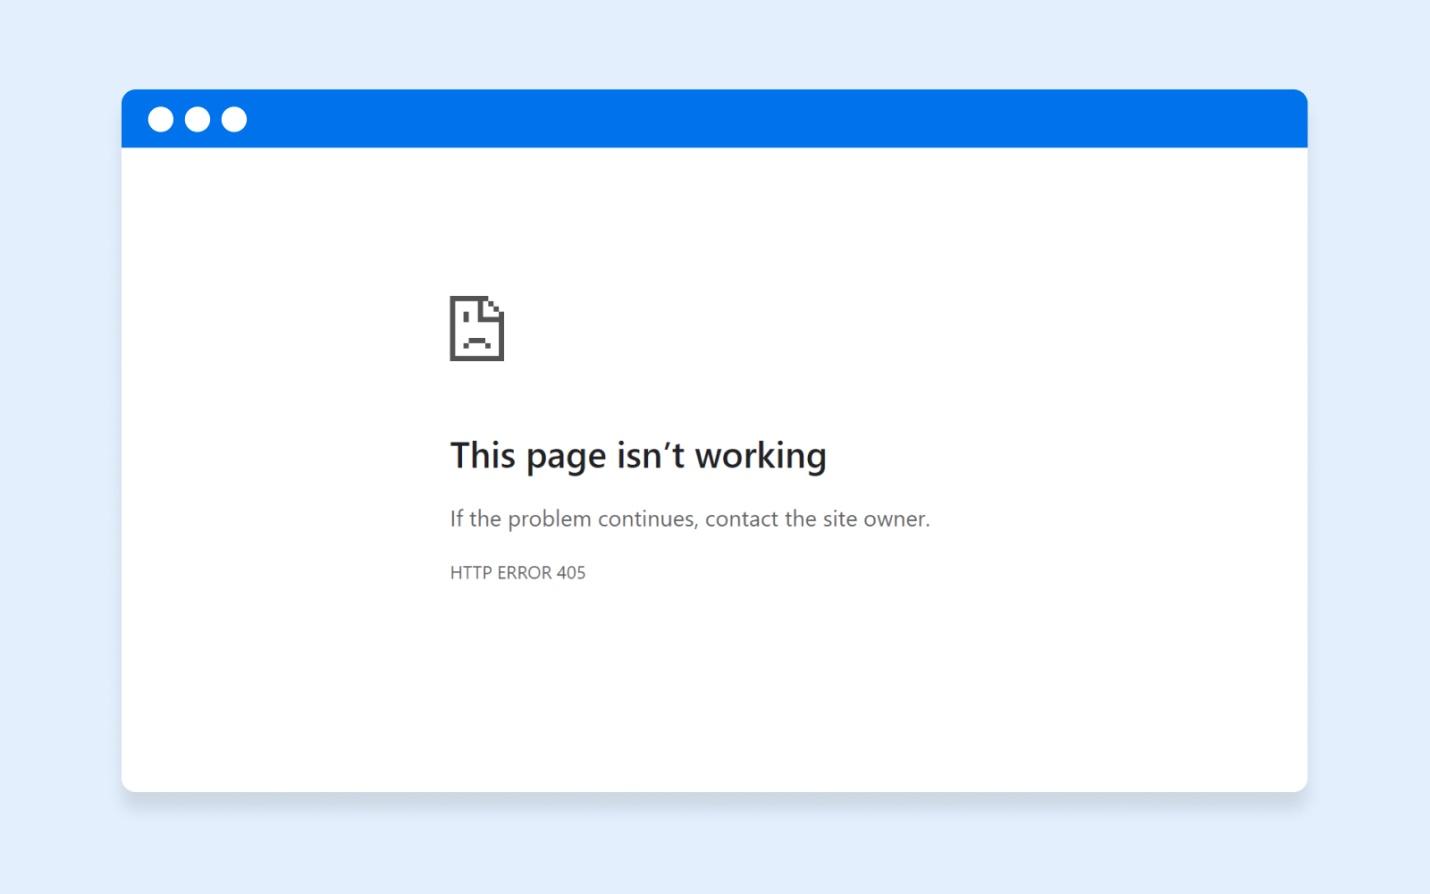
If you’ve encountered the frustrating 405 Method Not Allowed error on your WordPress site, you’re not alone. This error indicates that the server has received an invalid request method, typically due to misconfigured server settings or conflicts with plugins.
However, fear not! This comprehensive guide on how to fix the 405 methodnot allowed error on your WordPress Site will walk you through the process of resolving this issue, catering to both beginner and expert users.
Understanding the Significance of Fixing the 405 Error:
The 405 Method Not Allowed error can have significant implications for your WordPress site. It disrupts the user experience, potentially driving visitors away and harming your site’s reputation.
Additionally, it can negatively impact your site’s SEO rankings if left unresolved. Addressing this error promptly is crucial to maintain the functionality and accessibility of your WordPress site.
For Beginners: Step-by-Step Guide to Fix the 405 Error:
1. Identify the Cause:
Begin by identifying the root cause of the error. Common triggers include incorrect server configurations, conflicting plugins, or issues with the .htaccess file.
2. Check Plugin Compatibility:
Deactivate recently installed plugins or those known to conflict with WordPress functionality. This can be done by accessing the WordPress dashboard, navigating to Plugins, and deactivating suspicious plugins one by one.
3. Review .htaccess File:
Access your WordPress site’s root directory via FTP or file manager provided by your hosting provider. Locate the .htaccess file and rename it to .htaccess_old. This action will disable the file temporarily.
4. Test Site Functionality:
After renaming the .htaccess file, revisit your WordPress site to check if the 405 error persists. If the error disappears, the .htaccess file was likely the culprit.
5. Generate a New .htaccess File:
If the error vanishes after renaming the .htaccess file, you need to generate a new one. Go to Settings > Permalinks in your WordPress dashboard and click on the “Save Changes” button.
WordPress will automatically generate a new .htaccess file with default settings.
6. Test Again:
Verify that your site is functioning correctly without encountering the 405 error. Test various pages and functionalities to ensure everything is in order.
7. Reactivate Plugins:
Gradually reactivate your plugins one by one while checking for the recurrence of the 405 error after each activation. This will help pinpoint the specific plugin causing the conflict.
8. Update Server Configuration:
If the error persists despite the above steps, contact your hosting provider for assistance. They can review server configurations and ensure they are compatible with WordPress requirements.
Pros:
- Simple and straightforward steps suitable for beginners.
- Does not require extensive technical knowledge.
- Can quickly identify and resolve common triggers of the 405 error.
Cons:
- May not address complex server-related issues.
- Requires manual troubleshooting, which can be time-consuming.
- Temporary deactivation of plugins may affect site functionality.
For Expert Users: Advanced Troubleshooting Techniques:
1. Check Server Logs:
Access server logs to identify any specific error messages related to the 405 error. Look for entries indicating denied requests or server misconfigurations.
2. Inspect Server Configuration:
Review server configuration files such as Apache’s httpd.conf or Nginx’s nginx.conf to ensure they allow the desired HTTP methods (e.g., GET, POST).
3. Verify Permissions:
Check file and directory permissions on your server to ensure they are correctly set. Incorrect permissions can lead to the 405 error when attempting to access certain resources.
4. Debugging with Developer Tools:
Utilize browser developer tools to inspect network requests and server responses. Look for HTTP headers and status codes to pinpoint the source of the error.
5. Utilize .htaccess Directives:
If your server runs on Apache, leverage .htaccess directives to explicitly allow or deny specific HTTP methods. This can be done using the <Limit> or <LimitExcept> directives.
6. Test with cURL:
Use the cURL command-line tool to send custom HTTP requests to your server and observe the responses. This can help isolate the issue and determine if it’s specific to certain request methods.
7. Consider Server-Side Security:
Implement additional security measures such as mod_security or firewall rules to protect your server from malicious requests while ensuring legitimate requests are not blocked.
Pros:
- Offers in-depth analysis and troubleshooting techniques for complex issues.
- Enables fine-tuning of server configurations to prevent future occurrences of the 405 error.
- Suitable for advanced users or developers familiar with server administration.
Cons:
- Requires a deeper understanding of server technologies and configurations.
- May involve modifying server settings, which can have unintended consequences if done incorrectly.
- Time-intensive process, especially when dealing with intricate server setups.
Conclusion:
The 405 Method Not Allowed error can be a frustrating obstacle for WordPress site owners, but with the right approach, it can be effectively resolved.
Whether you’re a beginner or an expert user, following the steps outlined in this guide on how to fix the 405 method not allowed error on your WordPress Site will help diagnose and fix the error, restoring your site’s functionality and ensuring a seamless user experience.
By understanding the significance of addressing this error and employing the appropriate troubleshooting techniques, you can keep your WordPress site running smoothly and avoid future disruptions.


Leave a Reply