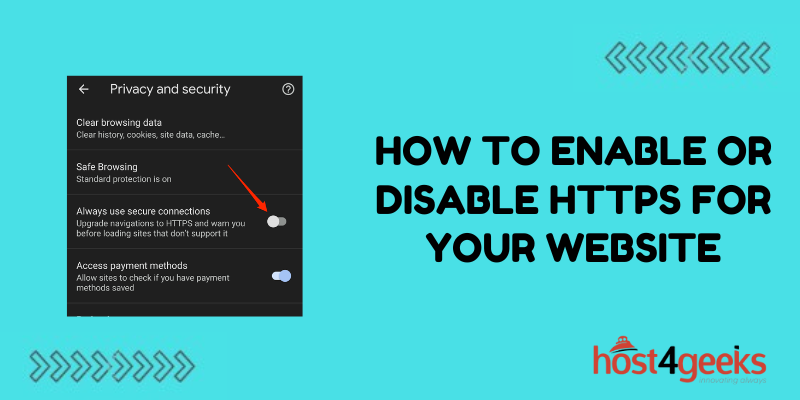
HTTPS encryption provides security and trust for website visitors through protected connections. It has also become an important ranking factor for SEO. Most sites should enable HTTPS if they haven’t already.
However, you may also need to disable HTTPS at times for development, staging, or troubleshooting purposes. In this guide, we’ll look at how to enable and disable HTTPS on your website through various hosting platforms and configurations.
Benefits of Enabling HTTPS
Here are some of the key reasons and advantages to enable HTTPS on your website:
- Encrypts connections to protect user traffic from snooping.
- Provides identity validation and trust through SSL certificates.
- Required for certain features like geolocation and service workers.
- Boosts SEO rankings as Google favors secure sites.
- Allows for secure cookies and user logins.
- Complies with privacy regulations like GDPR.
- Displays padlock icon for visible security assurance.
Unless you have a specific rare use case, virtually all sites should migrate to HTTPS nowadays.
When to Consider Disabling HTTPS Temporarily
In some circumstances, you may need to disable HTTPS for a period of time:
- During local development when certificates aren’t installed.
- When testing site changes that may break under HTTPS.
- If switching web hosts and HTTPS isn’t enabled on the new host yet.
- To replicate connectivity issues that only occur under HTTP.
- For network debugging when traffic needs to be unencrypted.
- When dealing with non-secure third-party services.
- If the SSL certificate expires and needs reissuing.
Once the task is complete, make sure to re-enable HTTPS again.
How to Enable HTTPS on Your Website
Enabling HTTPS requires obtaining and installing an SSL certificate on your server or CDN service. The steps vary by platform:
Shared Hosting
Many shared hosts include free SSL certificates with a click of a button in the control panel. For example, cPanel has AutoSSL available under the Security section.
WordPress Hosting
Managed WordPress hosts like Kinsta include free SSL automatically on all sites.
Dedicated Servers
On a dedicated or VPS server that you manage, install a free SSL certificate manually from a certificate authority like Let’s Encrypt.
Cloud Platforms
Services like AWS, Azure, and Cloudflare provide options to add SSL to your website through their console or control panel.
CDNs
CDN services can provision SSL certificates and handle secure connections on your behalf.
Be sure to adjust any hardcoded HTTP references and redirects to use HTTPS site-wide.
How to Disable HTTPS on Your Website
To temporarily revert your site back to HTTP-only access, you’ll need to remove the installed SSL certificate from your web server or CDN service.
Shared Hosting
In your hosting control panel, access the SSL/TLS settings and delete or disable the installed certificate. This varies by provider – contact support for exact steps.
Dedicated Servers
SSH into your server and modify the virtual host configuration file for your site, removing references to the SSL certificate files.
Cloud Platforms
Navigate to the SSL certificate manager within your provider’s console and delete the certificate associated with your site.
CDNs
Access the CDN SSL settings and use the option to temporarily disable HTTPS or delete the certificate.
Once disabled, confirm site only loads as HTTP. Remember to re-enable HTTPS once you are done!
Troubleshooting HTTP to HTTPS Migration Issues
When transitioning a site to HTTPS, you may run into a few issues:
- Mixed content errors – Make sure all resources like images load over HTTPS as well.
- Insecure redirects – Redirects must be updated to HTTPS URLs to avoid redirect loops.
- Hardcoded links – Any absolute HTTP links within the code will need to be changed to HTTPS.
- Broken functionality – Some JavaScript or integrations may only work under HTTP.
- Site caching – Clear caches to avoid caching redirect issues.
- Traffic drops – This can happen temporarily as visitors with HTTP bookmarked get redirected.
Monitor your site carefully and fix any problems that emerge when first rolling out HTTPS.
HTTP Strict Transport Security (HSTS)
To ensure browsers only connect via HTTPS by default, you can implement HTTP Strict Transport Security (HSTS).
This forces HTTPS for a defined period of time, even if a user types HTTP. It prevents man-in-the-middle attacks attempting to downgrade connections.
Enable HSTS via your .htaccess file or web server configuration.
“Let’s Encrypt” for Free SSL Certificates
A free option for obtaining SSL certificates is Let’s Encrypt, a non-profit certificate authority.
It provides domain-validated certificates for enabling HTTPS on your site at no cost. These certs must be renewed every 90 days.
Let’s Encrypt can be used on shared hosting, WordPress sites, dedicated servers, and more to add HTTPS.
Migrating from HTTP to HTTPS
When transitioning a site from HTTP to HTTPS, be sure to:
- Obtain and install an SSL certificate.
- Update all references and redirects to HTTPS.
- Force HTTPS via HSTS.
- Confirm site works as expected under HTTPS.
- Check for SEO impact and traffic changes.
- Update sitemaps to use HTTPS URLs.
This will ensure a smooth transition to secure HTTPS connections.
Conclusion
Enabling HTTPS should be a top priority for nearly all websites to maximize security and trust. Check if your host includes free SSL to activate it quickly. If not, install certificates from a provider like Let’s Encrypt.
Just be sure to troubleshoot for problems when testing the HTTPS version of your site. Temporarily disabling HTTPS for development or migration purposes is also straightforward by removing the SSL certificate. With HTTPS enabled, you can deliver the fastest, most secure experience for your visitors.

