
WordPress, the popular content management system (CMS), constantly evolves with updates and new features. However, sometimes these updates may not work as expected or may conflict with certain themes or plugins, leading to issues on your site.
In such cases, knowing how to downgrade your WordPress site can be invaluable. Downgrading allows you to revert to a previous version of WordPress, restoring functionality and stability.
In the guide how to downgrade your WordPress site, we’ll explore the significance of downgrading your WordPress site, detailing the process step-by-step for both beginners and experts, along with pros and cons of the procedure.
Significance of Downgrading Your WordPress Site
Downgrading WordPress is significant for several reasons:
1. Compatibility Issues:
New updates may not be compatible with your current theme or plugins, causing conflicts that disrupt your site’s functionality.
2. Bug Fixes:
Sometimes, new updates introduce unforeseen bugs or errors. Downgrading can help you restore a stable version until these issues are resolved.
3. Security Concerns:
If a new update has security vulnerabilities or exposes your site to risks, downgrading can protect your website until patches are released.
4. Maintaining Stability:
For critical sites or those with complex setups, maintaining a stable environment is paramount. Downgrading can prevent disruptions caused by untested updates.
Step-by-Step Guide: How to Downgrade Your WordPress Site
For Beginners:
1. Backup Your Website:
Before making any changes, it’s crucial to create a backup of your WordPress site. You can do this using a plugin like UpdraftPlus or manually through your hosting control panel.
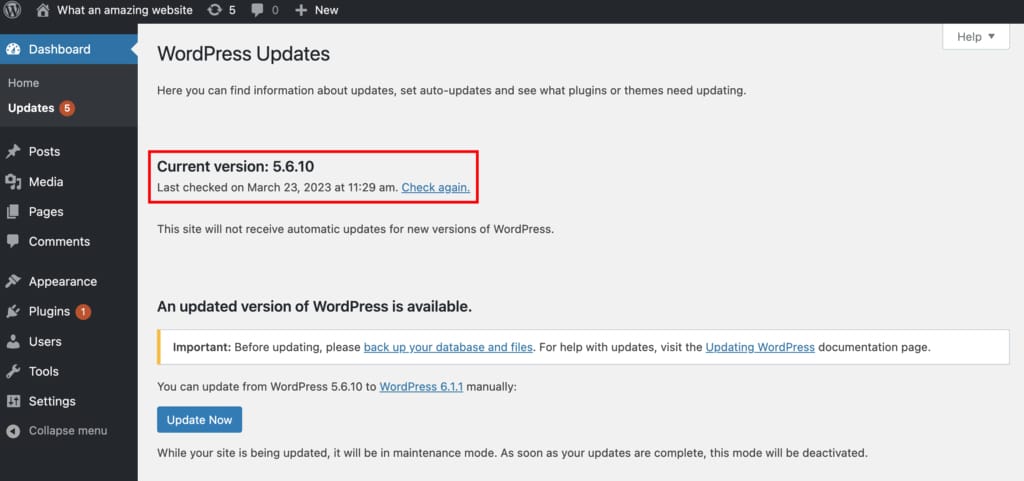
2. Identify the Current Version:
Go to your WordPress dashboard and locate the current version of WordPress installed on your site. This information can usually be found in the “Updates” section.
3. Download Previous Version:
Visit the WordPress Release Archive (https://wordpress.org/download/release-archive/) and download the previous version of WordPress that you want to downgrade to. Make sure to choose a version that is compatible with your site’s setup.
4. Deactivate Plugins and Themes:
Before proceeding with the downgrade, deactivate all plugins and switch to a default WordPress theme. This ensures that no conflicts occur during the process.
5. Replace WordPress Files:
Using an FTP client or file manager provided by your hosting provider, navigate to the root directory of your WordPress installation. Replace all files and folders except the wp-content folder with the ones from the downloaded WordPress version.
6. Update Database:
Sometimes, downgrading may require updating the WordPress database. To do this, log in to your WordPress dashboard. You may be prompted to run a database update. Follow the on-screen instructions to complete the process.
7. Test Your Site:
After downgrading, thoroughly test your website to ensure that everything is functioning correctly. Check for any errors or issues, and address them accordingly.
For Experts:
1. Use Version Control:
Expert users can leverage version control systems like Git to manage changes to their WordPress site. By maintaining a repository of your site’s code, you can easily revert to previous versions if needed.
2. Custom Rollback Scripts:
Develop custom scripts or tools to automate the downgrade process. This can include backing up the current state of the site, rolling back to a previous version, and restoring data if necessary.
3. Staging Environment:
Set up a staging environment where you can safely test the downgrade process before implementing it on your live site. This ensures minimal disruption and allows you to troubleshoot any issues in a controlled environment.
4. Monitor Dependencies:
Expert users should closely monitor dependencies such as plugins, themes, and custom code. Before downgrading, ensure that all components are compatible with the target version of WordPress.
5. Document Changes:
Keep detailed documentation of any changes made during the downgrade process, including file modifications, database updates, and configurations. This helps in troubleshooting and reverting changes if needed.
Pros and Cons of Downgrading Your WordPress Site
Pros:
1. Restores Stability:
Downgrading can restore stability to your site, especially if new updates have caused conflicts or errors.
2. Maintains Functionality:
By reverting to a previous version of WordPress, you can ensure that all features and functionalities continue to work as expected.
3. Security:
If a new update introduces security vulnerabilities, downgrading can help mitigate risks until patches are released.
Cons:
1. Loss of New Features:
Downgrading means forfeiting any new features or improvements introduced in the latest WordPress version.
2. Temporary Solution:
Downgrading is often a temporary solution. It’s essential to address underlying issues and plan for future updates to prevent recurring problems.
3. Compatibility Concerns:
Reverting to an older version of WordPress may not be compatible with all themes, plugins, or third-party services, potentially causing further issues.
Conclusion:
Knowing how to downgrade your WordPress site is a valuable skill for website owners and developers alike. Whether you’re facing compatibility issues, bugs, or security concerns, the ability to revert to a previous version of WordPress can help maintain stability and functionality.
By following the step-by-step guide provided in this article on how to downgrade your WordPress site, both beginners and experts can successfully downgrade their WordPress sites while considering the pros and cons of the process.
Remember to always back up your site before making any changes and thoroughly test your website after the downgrade to ensure everything is working correctly.