In the dynamic world of web design, creating an engaging user experience is paramount. One crucial element in achieving this is the sticky header, a feature that remains fixed at the top of the webpage as users scroll down.
Implementing a sticky header on your WordPress site can enhance navigation, improve user engagement, and provide a seamless browsing experience.
In this comprehensive guide on how to create the perfect sticky header for your site with WordPress, we’ll explore the significance of a sticky header, its benefits, and the step-by-step process of creating one for your WordPress site, along with its pros and cons.
Significance of a Sticky Header:
Before diving into the creation process, it’s essential to understand why a sticky header is significant for your WordPress site. A sticky header:
1. Enhances User Experience:
By keeping essential navigation links and menus readily accessible, a sticky header ensures that users can navigate your site effortlessly, leading to a positive user experience.
2. Improves Navigation:
With a sticky header, visitors can quickly jump to different sections of your site, reducing the need to scroll back to the top or search for navigation options.
3. Increases Engagement:
A fixed header encourages users to explore more content on your site by providing easy access to key features, such as search bars, contact information, or shopping carts.
4. Boosts Brand Visibility:
By keeping your logo and branding elements visible at all times, a sticky header reinforces your brand identity and improves brand recall among visitors.
5. Mobile-Friendly:
Sticky headers are especially beneficial for mobile users, as they conserve screen space and ensure that important navigation options remain accessible even on smaller screens.

Step-by-Step Process to Create the Perfect Sticky Header:
Now, let’s delve into the step-by-step process of creating a sticky header for your WordPress site:
Step 1: Choose a WordPress Theme with Built-in Sticky Header Support
Start by selecting a WordPress theme that offers built-in support for sticky headers. Many modern WordPress themes come with this feature, allowing you to enable it with just a few clicks.
Look for themes that provide customization options for the sticky header’s appearance and behavior.
Step 2: Access the Theme Customizer
Once you’ve chosen a suitable theme, navigate to the WordPress Customizer by going to “Appearance” > “Customize” in your WordPress dashboard.
Step 3: Locate the Header Settings
In the Customizer, find the section dedicated to header settings. Depending on your theme, this section may be labeled differently but should contain options related to header layout, design, and behavior.
Step 4: Enable the Sticky Header
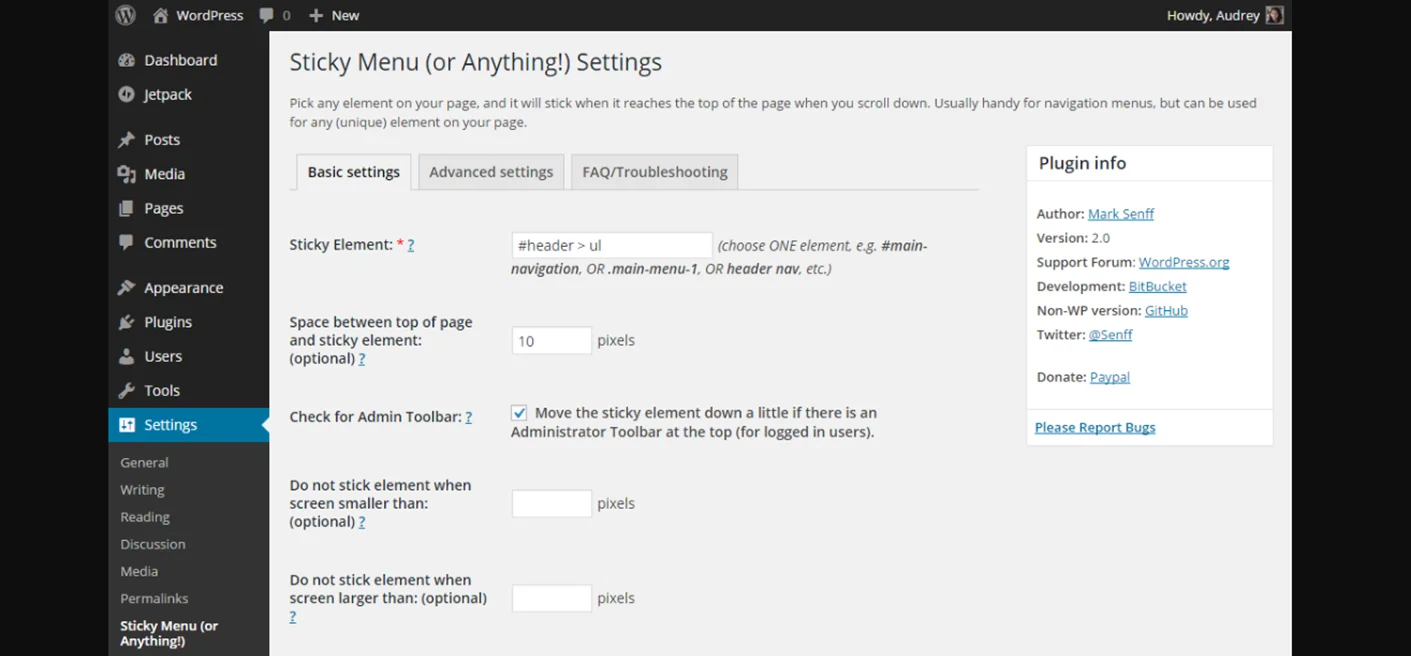
Within the header settings, look for an option to enable the sticky header. This option may be labeled as “Sticky Header,” “Fixed Header,” or something similar. Toggle the switch to enable the sticky header feature.
Step 5: Customize the Sticky Header
Once enabled, you’ll likely have the option to customize various aspects of the sticky header, such as its background color, text color, logo size, and navigation menu style.
Experiment with these settings to ensure that the sticky header complements your site’s overall design aesthetic.
Step 6: Preview and Save Changes
After customizing the sticky header to your liking, preview your changes to see how they appear on your site. Make any necessary adjustments until you’re satisfied with the result. Once you’re happy with the sticky header’s appearance, save your changes.
Pros of Sticky Headers:
1. Improved Navigation:
Sticky headers make it easier for users to navigate your site, leading to higher engagement and lower bounce rates.
2. Enhanced Branding:
By keeping your logo and branding elements visible, sticky headers reinforce your brand identity and improve brand recognition.
3. Better User Experience:
With key navigation options always accessible, visitors enjoy a seamless browsing experience, resulting in higher satisfaction and return visits.
4. Mobile Optimization:
Sticky headers are particularly beneficial for mobile users, optimizing the browsing experience on smaller screens.
Cons of Sticky Headers:
1. Screen Space Consumption:
Sticky headers occupy valuable screen real estate, potentially reducing the visible content, especially on smaller devices.
2. Overlapping Content:
In some cases, sticky headers may overlap with other page elements, obscuring content and causing usability issues.
3. Performance Impact:
While minimal, adding a sticky header may slightly increase the page load time and resource consumption, especially on low-powered devices or slow internet connections.
4. Customization Limitations:
Depending on your theme, customization options for sticky headers may be limited, restricting your ability to tailor the header to your precise specifications.
Conclusion:
In conclusion, implementing a sticky header on your WordPress site can significantly enhance user experience, improve navigation, and reinforce your brand identity.
By following the step-by-step process outlined in this guide on how to create the perfect sticky header for your site with WordPress, you can create the perfect sticky header that complements your site’s design and engages your visitors effectively.
While sticky headers offer numerous benefits, it’s essential to consider potential drawbacks and ensure that the header aligns with your site’s overall goals and user experience priorities. With careful planning and customization, a sticky header can be a valuable addition to your WordPress site, contributing to its success and usability.
