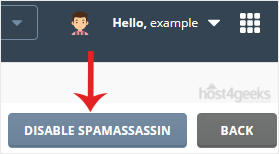
Disabling Apache SpamAssassin in DirectAdmin involves a few straightforward steps. Here’s a detailed guide to help you through the process:
- Login to DirectAdmin: Start by logging into your DirectAdmin control panel using your administrator credentials.
- Navigate to SpamAssassin Configuration:
- Once logged in, find and click on the “SpamAssassin Setup” or similar option. This is usually located under the “E-Mail Manager” or “Advanced Features” section, depending on your DirectAdmin theme.
![]()
- Disable SpamAssassin:
- In the SpamAssassin Setup page, you’ll typically see an option to enable or disable SpamAssassin. Look for a checkbox or toggle that allows you to turn it off.

- Save Changes:
- After disabling SpamAssassin, make sure to save your changes. Look for a “Save” or “Update” button at the bottom of the page and click on it to apply the settings.
- Confirm Deactivation:
- Once saved, it’s a good practice to verify that SpamAssassin has been successfully disabled. You can do this by checking if any related settings or indicators show that SpamAssassin is no longer active.
- Restart Services (if necessary):
- In some configurations, especially on shared hosting environments, changes may require a service restart to take effect. If you notice that SpamAssassin is still active after saving changes, consider restarting the Apache or DirectAdmin service as needed.
- Test Your Email:
- After disabling SpamAssassin, it’s advisable to send and receive test emails to ensure that the changes haven’t affected your email functionality adversely.
By following these steps, you should be able to effectively disable Apache SpamAssassin in DirectAdmin and adjust your email configuration according to your preferences.