Deleting the “Uncategorized” category in WordPress is not straightforward, as it is the default category that WordPress assigns to posts when no other category is selected. However, you can rename it or change the default category to something else and then delete the category if needed. Here’s a detailed guide on how to handle the “Uncategorized” category for Host4Geeks users:
Step-by-Step Guide to Deleting or Renaming the Uncategorized Category in WordPress
1. Log into WordPress Admin Dashboard
Open your web browser and navigate to your WordPress admin login page, typically found at https://yourdomain.com/wp-admin.
- Login Credentials
Enter your WordPress admin username and password to log in.
2. Rename the Uncategorized Category
Since WordPress does not allow deleting the default category directly, the best approach is to rename it.
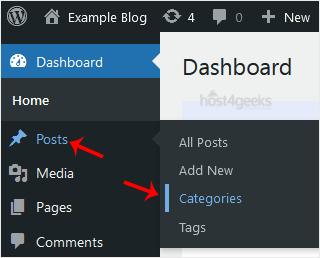
- Navigate to Categories
In the WordPress admin dashboard, go to “Posts” and then click on “Categories”.
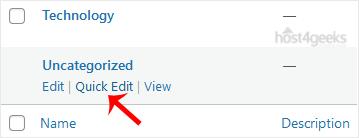
- Find Uncategorized
Locate the “Uncategorized” category in the list. Hover over it and click on the “Edit” link that appears.
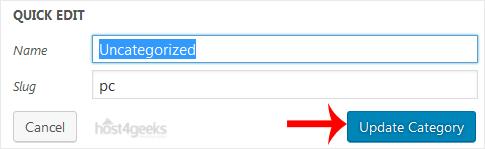
- Rename Category
Change the name from “Uncategorized” to something more meaningful, like “General” or any other name that fits your blog.
- Slug Update (Optional)
Update the slug (URL-friendly version of the category name) if needed. Ensure it is relevant to the new category name.
- Save Changes
Click the “Update” button to save the changes.
3. Change the Default Category
To fully remove the default behavior of assigning posts to the “Uncategorized” category, you need to set a new default category.
- Settings
In the WordPress admin dashboard, go to “Settings” and then click on “Writing”.
- Default Post Category
Under the “Default Post Category” section, select a new category from the dropdown menu. This category will now be the default category for new posts.
- Save Changes
Scroll down and click the “Save Changes” button.
4. Delete the Renamed Category (If Necessary)
If you renamed the “Uncategorized” category and no longer want it, you can delete it now that it is no longer the default category.
- Navigate to Categories
Go back to “Posts” > “Categories”.
- Delete Category
Locate the category you renamed from “Uncategorized”. Hover over it and click on the “Delete” link that appears.
- Confirm Deletion
Confirm the deletion in the prompt that appears.
Additional Tips for Managing Categories
- Bulk Editing: If you have many posts assigned to the “Uncategorized” category, consider bulk editing these posts to assign them to a more relevant category.
- SEO Considerations: Ensure that your categories are SEO-friendly by using meaningful names and slugs that reflect the content of your posts.
- Regular Review: Periodically review and update your categories to ensure they remain relevant to your content strategy.
Troubleshooting
- Cannot Delete Default Category: If the “Delete” link is not available, make sure you have set a new default category as described in step 3.
- Posts Still Assigned to Old Category: If some posts are still assigned to the old “Uncategorized” category, use the bulk edit feature to reassign them to a new category.
Contacting Support
For any issues or additional help, you can reach out to Host4Geeks customer support through:
- Support Portal: Access the support portal from your Host4Geeks account.
- Live Chat: Use the live chat feature on the Host4Geeks website.
- Email: Send an email to the Host4Geeks support team.
By following these detailed steps, you can effectively manage and delete the “Uncategorized” category in WordPress on Host4Geeks, ensuring your blog’s categories are well-organized and relevant.