


In the digital age, where speed and efficiency are paramount, the performance of your WordPress website can make or break its success.
Every aspect, from content to design, plays a crucial role in shaping user experience. One often overlooked aspect, however, is the number of HTTP requests your site makes.
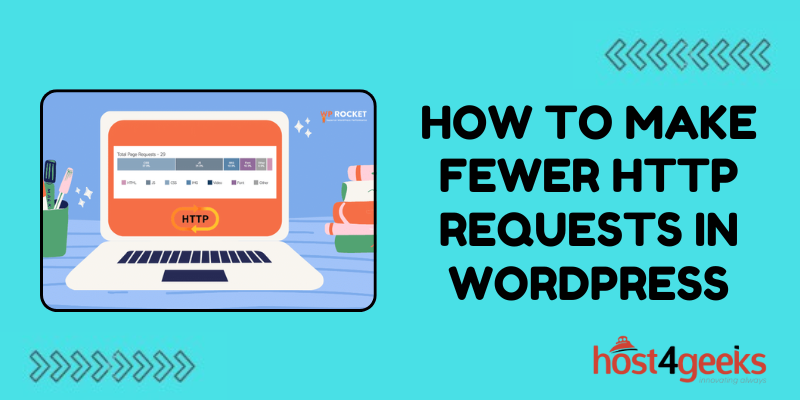
In this comprehensive guide on how to make fewer HTTP requests in WordPress, we’ll dig into the significance of reducing HTTP requests in WordPress, catering to both beginners and experts, and provide step-by-step instructions on how to achieve this optimization.
Significance of Reducing HTTP Requests in WordPress
HTTP (Hypertext Transfer Protocol) requests occur whenever a browser fetches a file from a server to display a webpage. Each element on a webpage, such as images, stylesheets, scripts, and fonts, triggers a separate HTTP request.
Consequently, the more requests your site makes, the longer it takes to load, resulting in poor user experience and potential SEO penalties.
For beginners, understanding the importance of reducing HTTP requests lies in improving site speed and overall performance.
A faster website not only enhances user satisfaction but also boosts search engine rankings, leading to increased traffic and engagement.
Expert users recognize that optimizing HTTP requests is a fundamental aspect of web performance optimization.
By minimizing the number of requests, you reduce latency, bandwidth usage, and server load, ultimately maximizing the efficiency of your WordPress site.
Step-by-Step Guide for Beginners and Experts
1. Audit Your Website:
Beginners:
- Use online tools like GTmetrix or Pingdom Tools to analyze your site’s performance.
- Pay attention to the number of HTTP requests and identify the elements causing the most requests.
Experts:
- Utilize advanced tools like Google Chrome DevTools or WebPageTest for in-depth analysis.
- Look for opportunities to combine or eliminate unnecessary files to reduce HTTP requests.
2. Optimize Images:
Beginners:
- Resize images to appropriate dimensions before uploading them to WordPress.
- Utilize image optimization plugins like Smush or Imagify to compress images without compromising quality.
Experts:
- Leverage lazy loading techniques to defer offscreen images, reducing initial page load time.
- Implement responsive image solutions to serve appropriately sized images based on the user’s device.
3. Minify and Combine Files:
Beginners:
- Install a WordPress plugin such as WP Super Minify or Autoptimize to automatically minify and combine CSS and JavaScript files.
- Enable options to concatenate CSS/JS files and inline small CSS/JS files for improved performance.
Experts:
- Fine-tune minification settings to ensure optimal file size reduction without causing functionality issues.
- Manually review and adjust scripts to eliminate unnecessary dependencies and reduce overall file count.
4. Utilize Content Delivery Networks (CDNs):
Beginners:
- Sign up for a CDN service like Cloudflare or Jetpack CDN and follow their setup instructions for WordPress integration.
- CDNs cache static content and distribute it across multiple servers worldwide, reducing latency and improving load times.
Experts:
- Configure advanced CDN settings such as caching rules, page rules, and origin optimization for maximum performance gains.
- Monitor CDN performance metrics and make adjustments as necessary to optimize delivery.
Pros and Cons:
Pros:
- Improved website speed and performance.
- Enhanced user experience and satisfaction.
- Higher search engine rankings and increased organic traffic.
- Reduced server load and bandwidth consumption.
Cons:
- Over-optimization may lead to compatibility issues with certain themes or plugins.
- Requires ongoing monitoring and maintenance to ensure continued effectiveness.
- Some optimization techniques may require technical expertise to implement correctly.
Conclusion
In conclusion, reducing HTTP requests in WordPress is a critical aspect of optimizing website performance for both beginners and experts.
By following the step-by-step guide outlined in this article how to make fewer HTTP requests in WordPress, you can effectively minimize HTTP requests, leading to faster loading times, improved user experience, and ultimately, greater success for your WordPress website.


Leave a Reply